First we start from a basic beamer setup:
\documentclass[]{beamer}
\begin{document}
	\begin{frame}{}
	\begin{itemize}
		\item Generic bullet point
	\end{itemize}
\end{frame}
\end{document}
Now, first we need to add some latex packages (enumitem and pifont) and then we can try it out. I also like to change the color of my bullet points, so I will define a color pink (you can use the generic latex colors as well). Main work is
\documentclass[]{beamer}
\usepackage{enumitem}			% This package provides user control over the layout of the three basic list environments: enumerate, itemize and description.
\usepackage{pifont}			% Gives you the access to PostScript standard Symbol and Dingbats fonts.
\definecolor{pink}{RGB}{174,26,100}	% You can pick whichever color you like, just put in its RBG values.

\begin{document}
	\begin{frame}{}
	\begin{itemize}[label={\color{pink}\Pifont{pzd}{\char40}}]	% Here you just select your color and then the number of pifont character you want to use as your bullet.
		\item Cool bullet
	\end{itemize}
\end{frame}
\end{document}
And check out the difference:
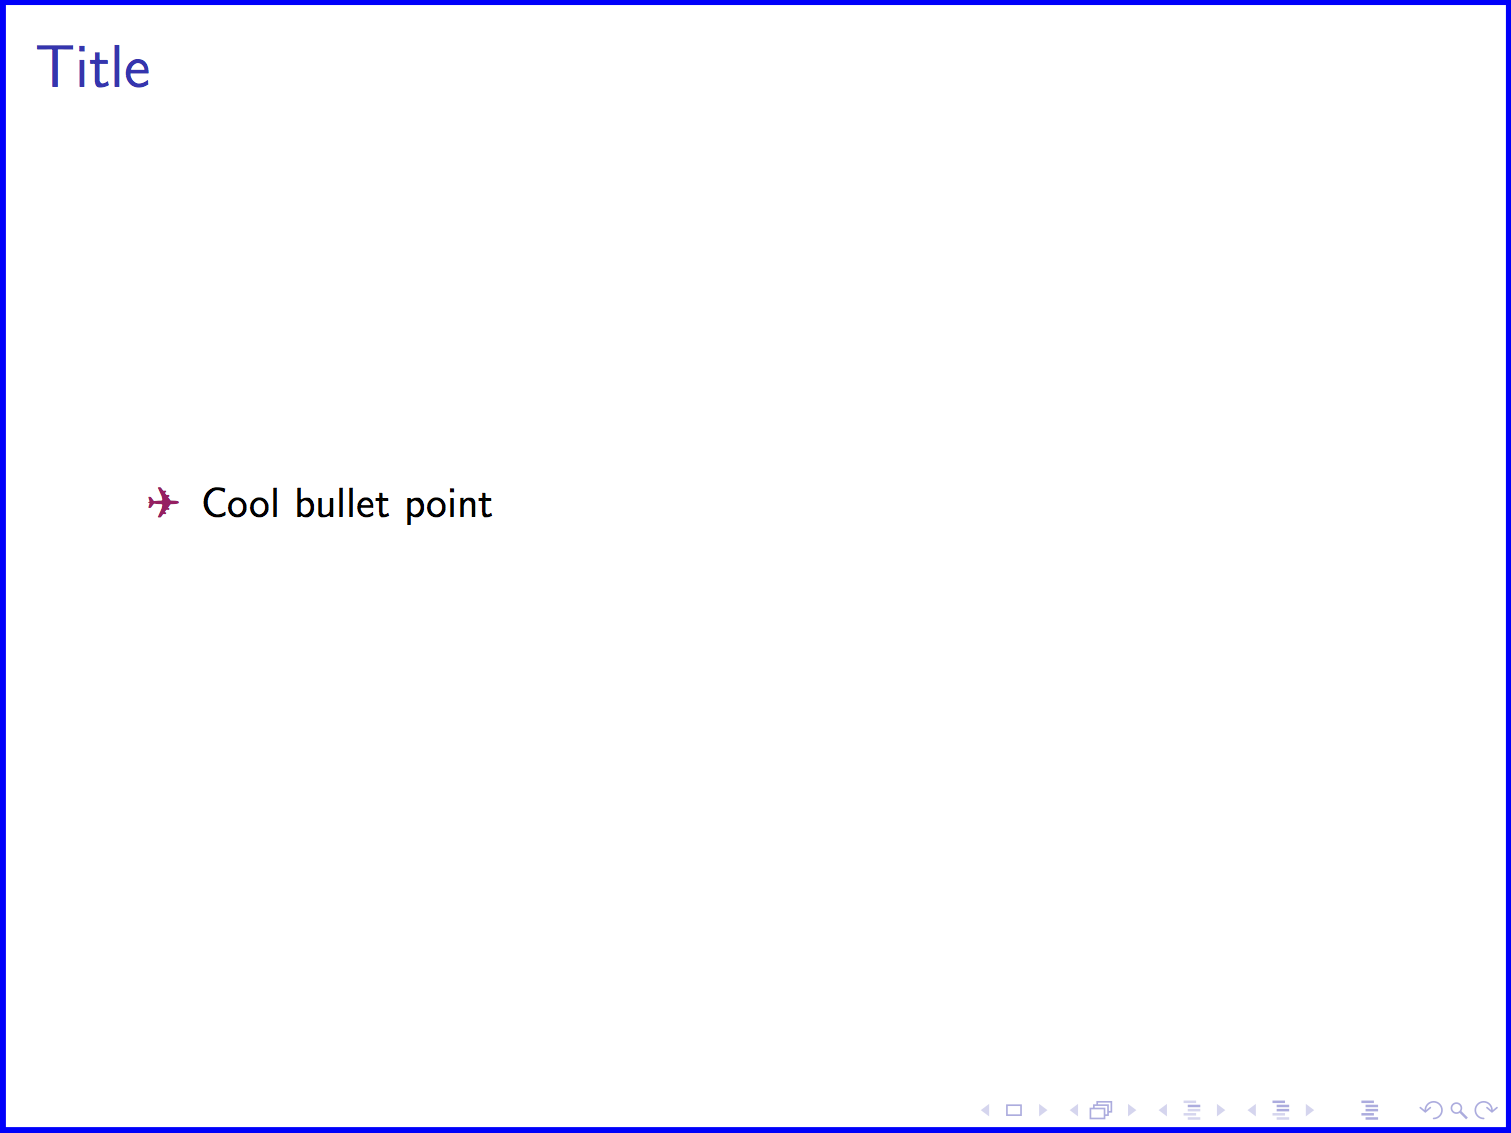
To use it multiple times in your document, you will have to include the [label= ..] after each \begin{itemize}. Here I used number 40 which is a plane, but there are loads of other cool characters, just pick your favorite.
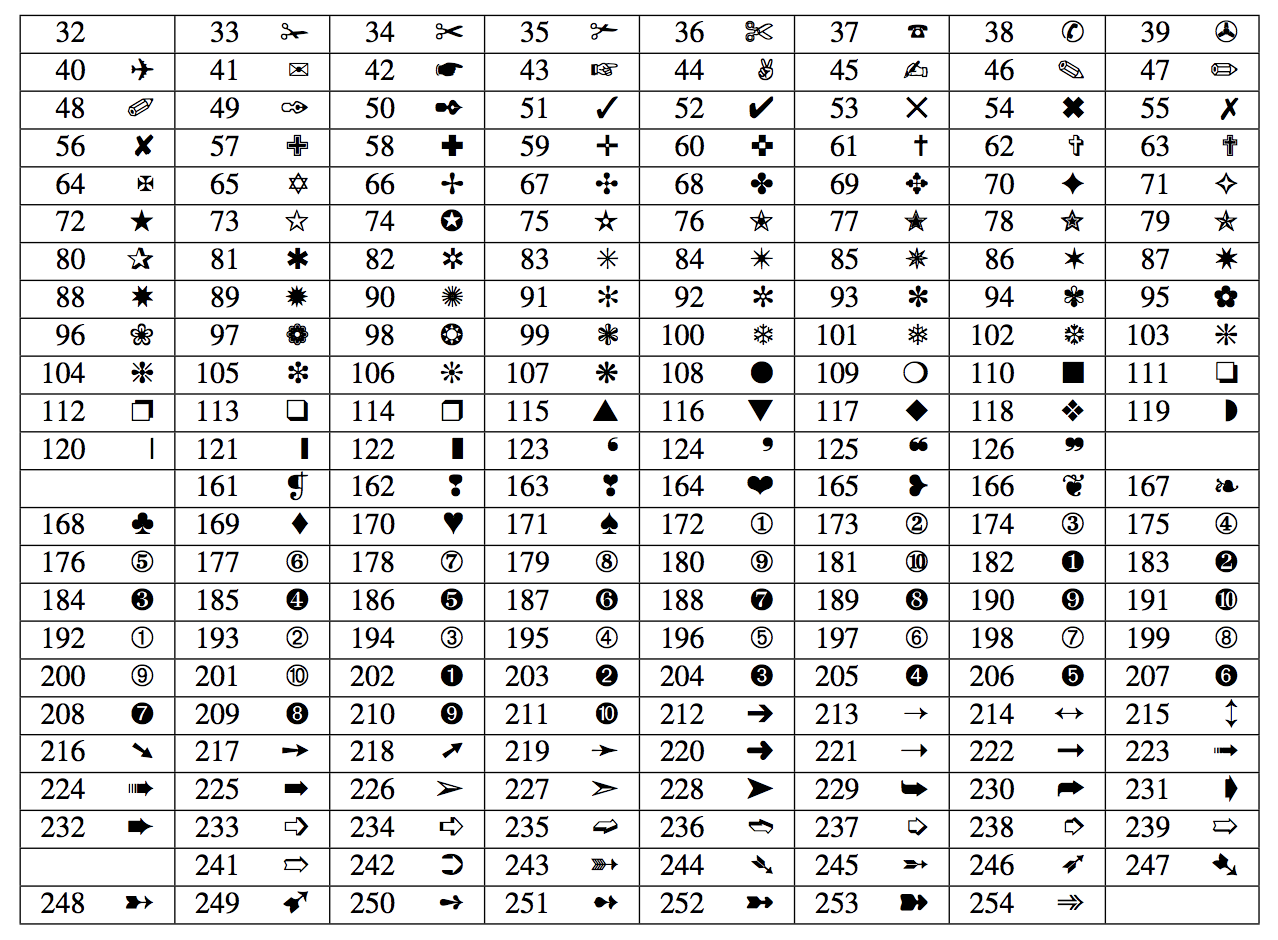
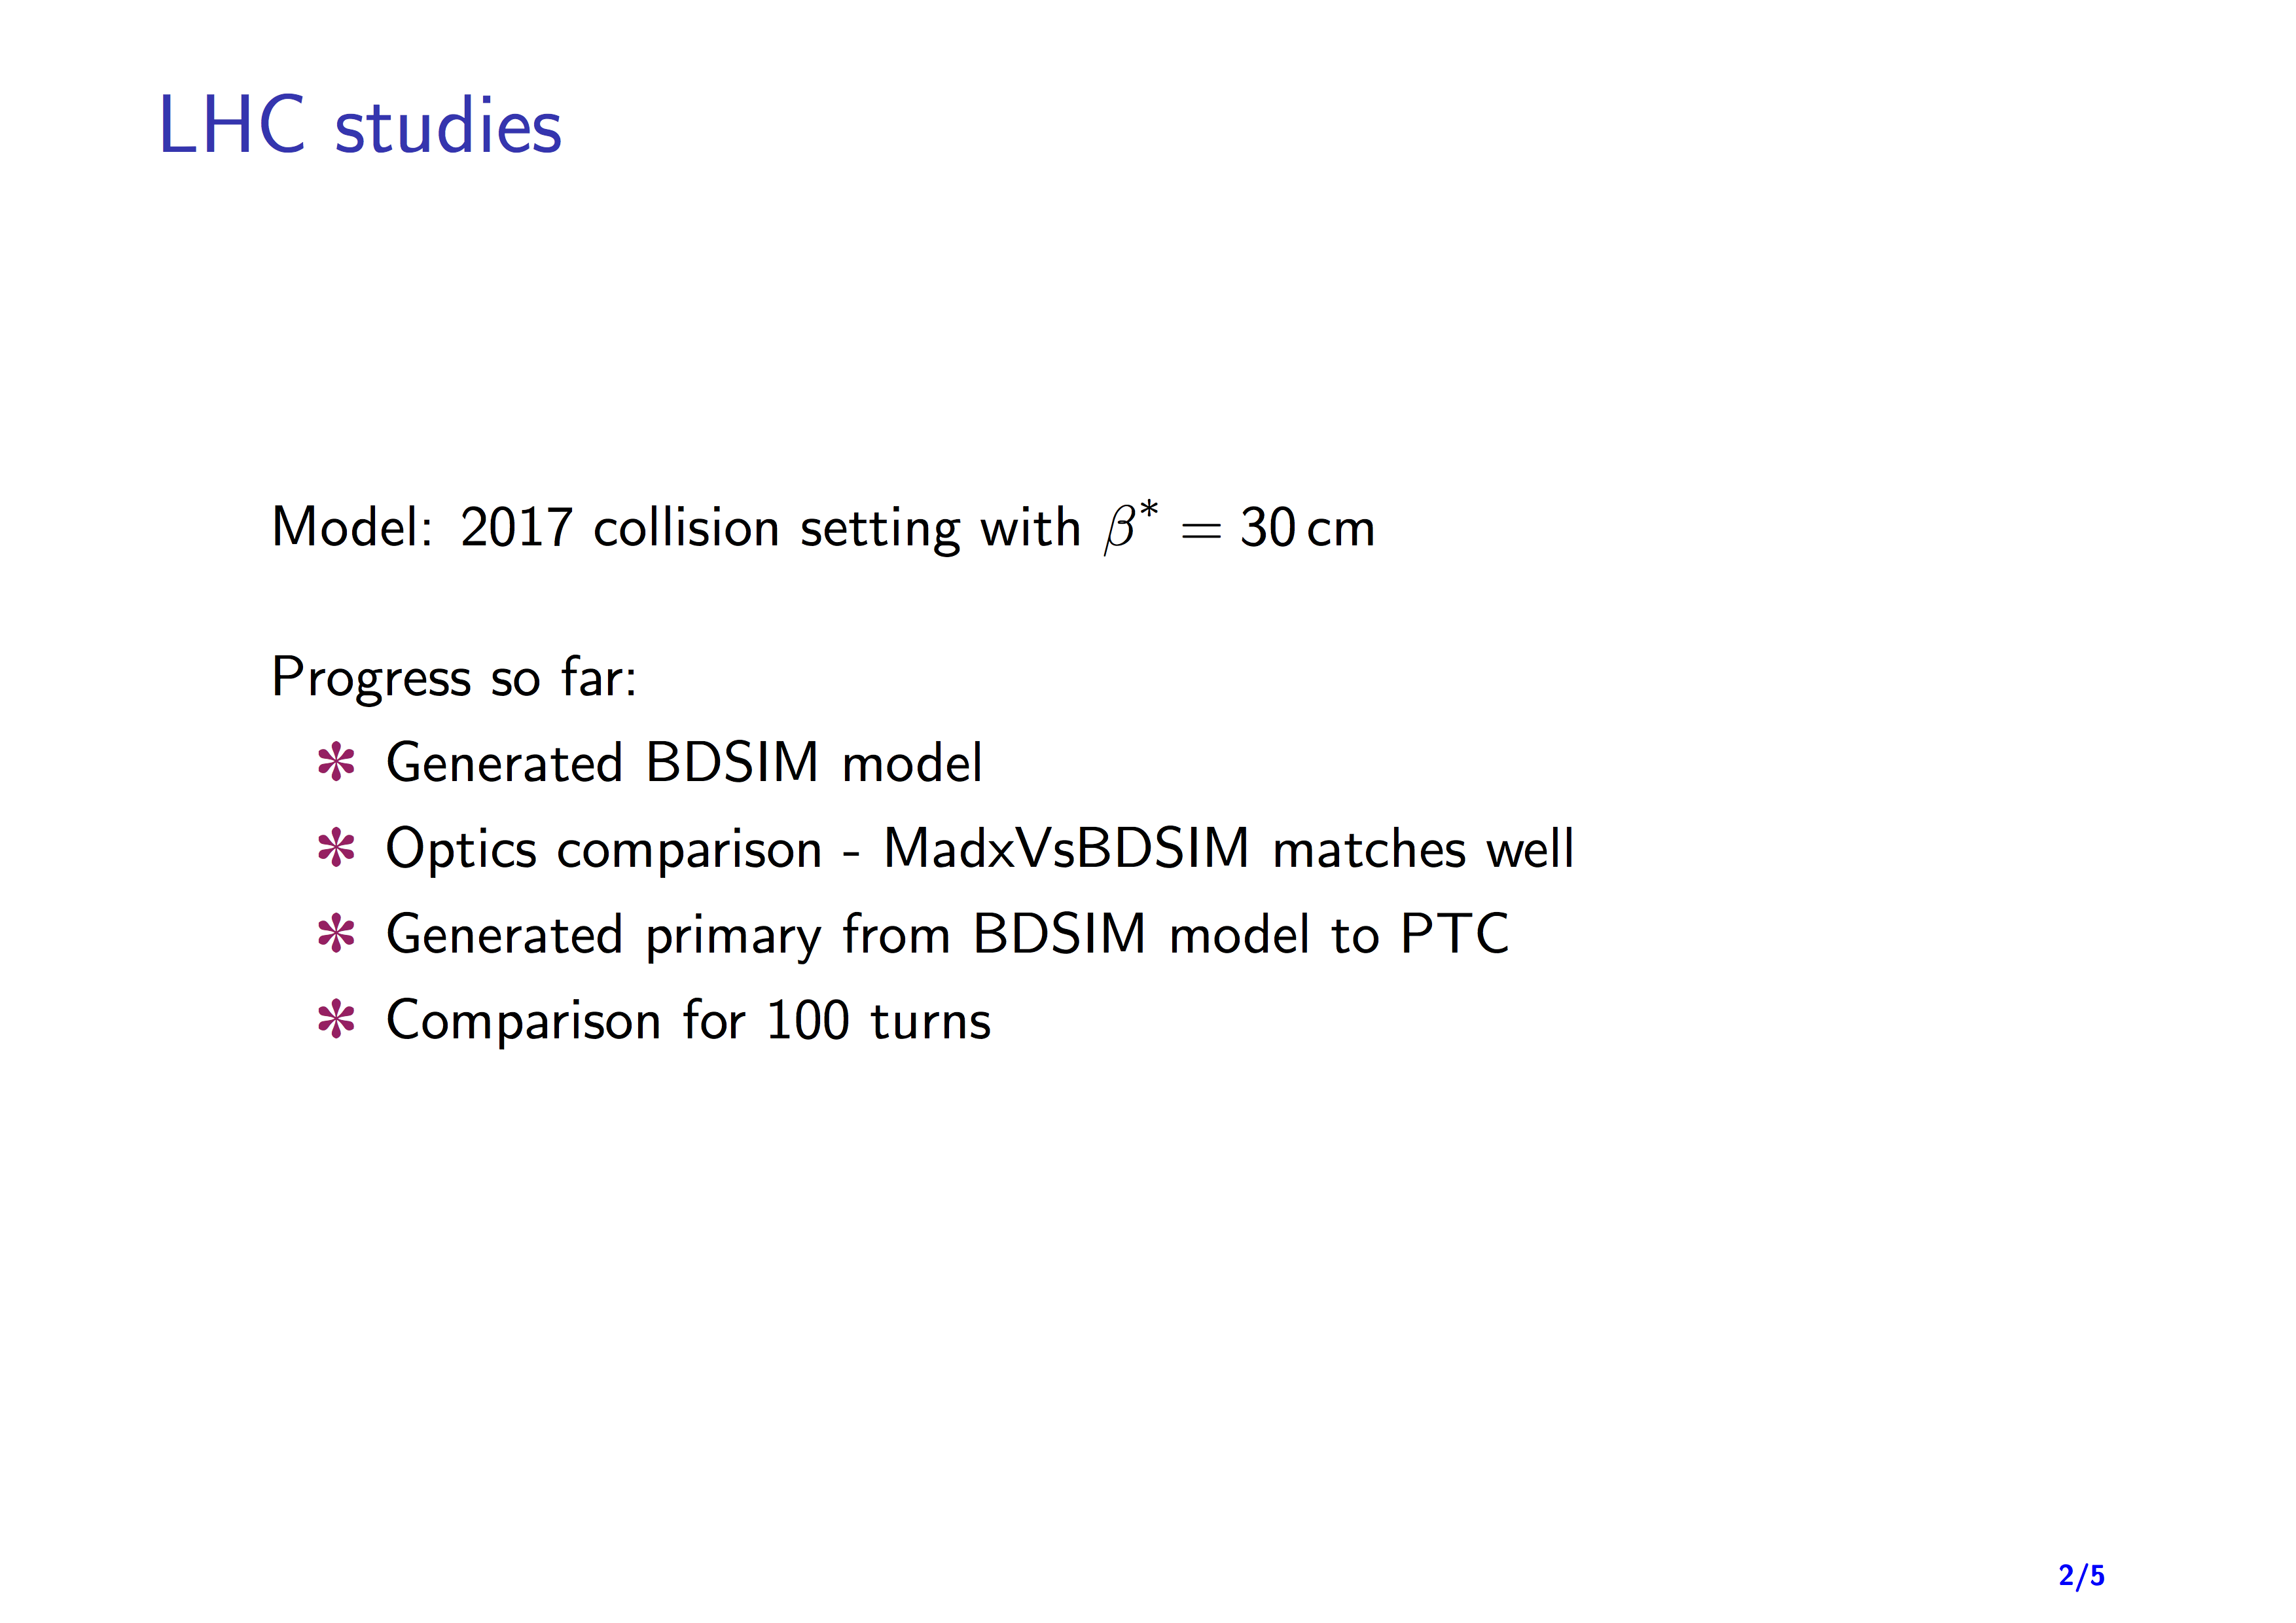
I use number 93 in all of my presentations these days. As I have it saved in my basic presentation layout, I don’t need to remember all this or search on google every time I make a presentation, my bullet points always come out as pretty flowers (but still quite subtle). I hope you enjoy them as much as I do :)
Enter your email address to follow me and receive notifications of new posts by email.
No spam from me, don't worry.